Using Postman to test endpoints
One of the recommended approaches to testing and implementing the API is to use Postman.
Let's get started.
Step 1: Download Postman
Get the latest version of Postman via their download page .
Also go ahead and create a free account with them if you haven't already. You will need to sign in when you open the app for the first time.
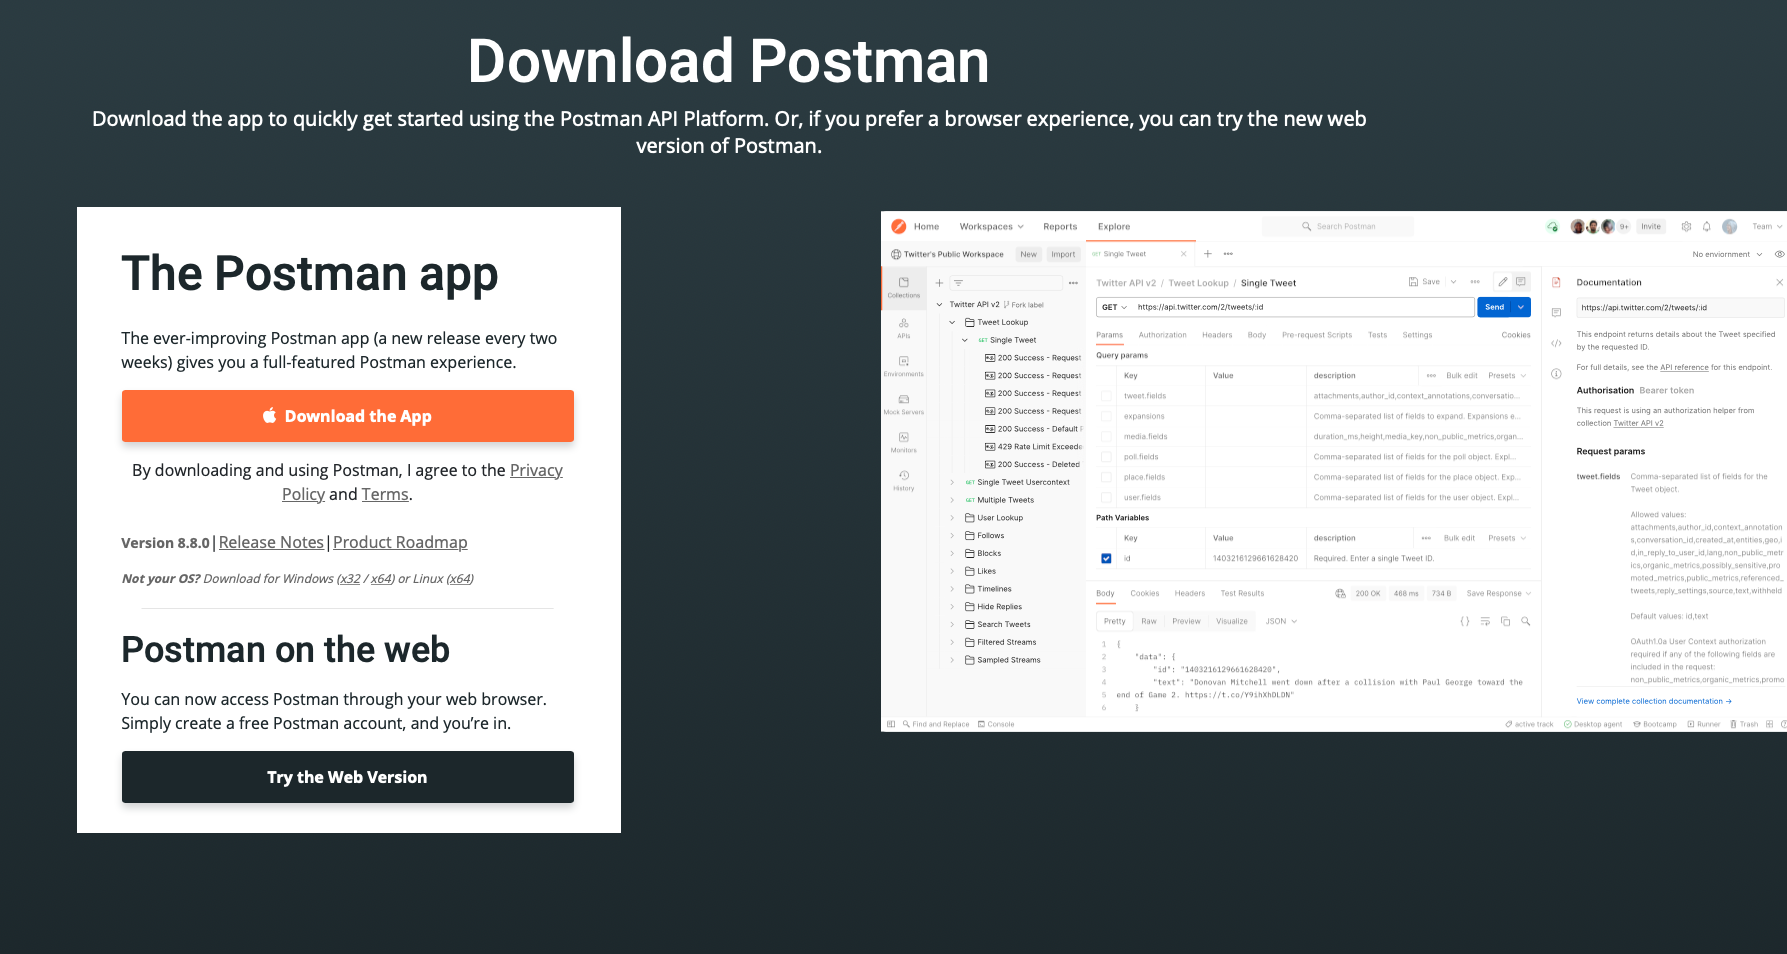
Download Postman via their website
Step 2: Locate the Swagger URL for your API
Go ahead and locate your Swagger link. The page contains the URL we will be importing into Postman on our next step.
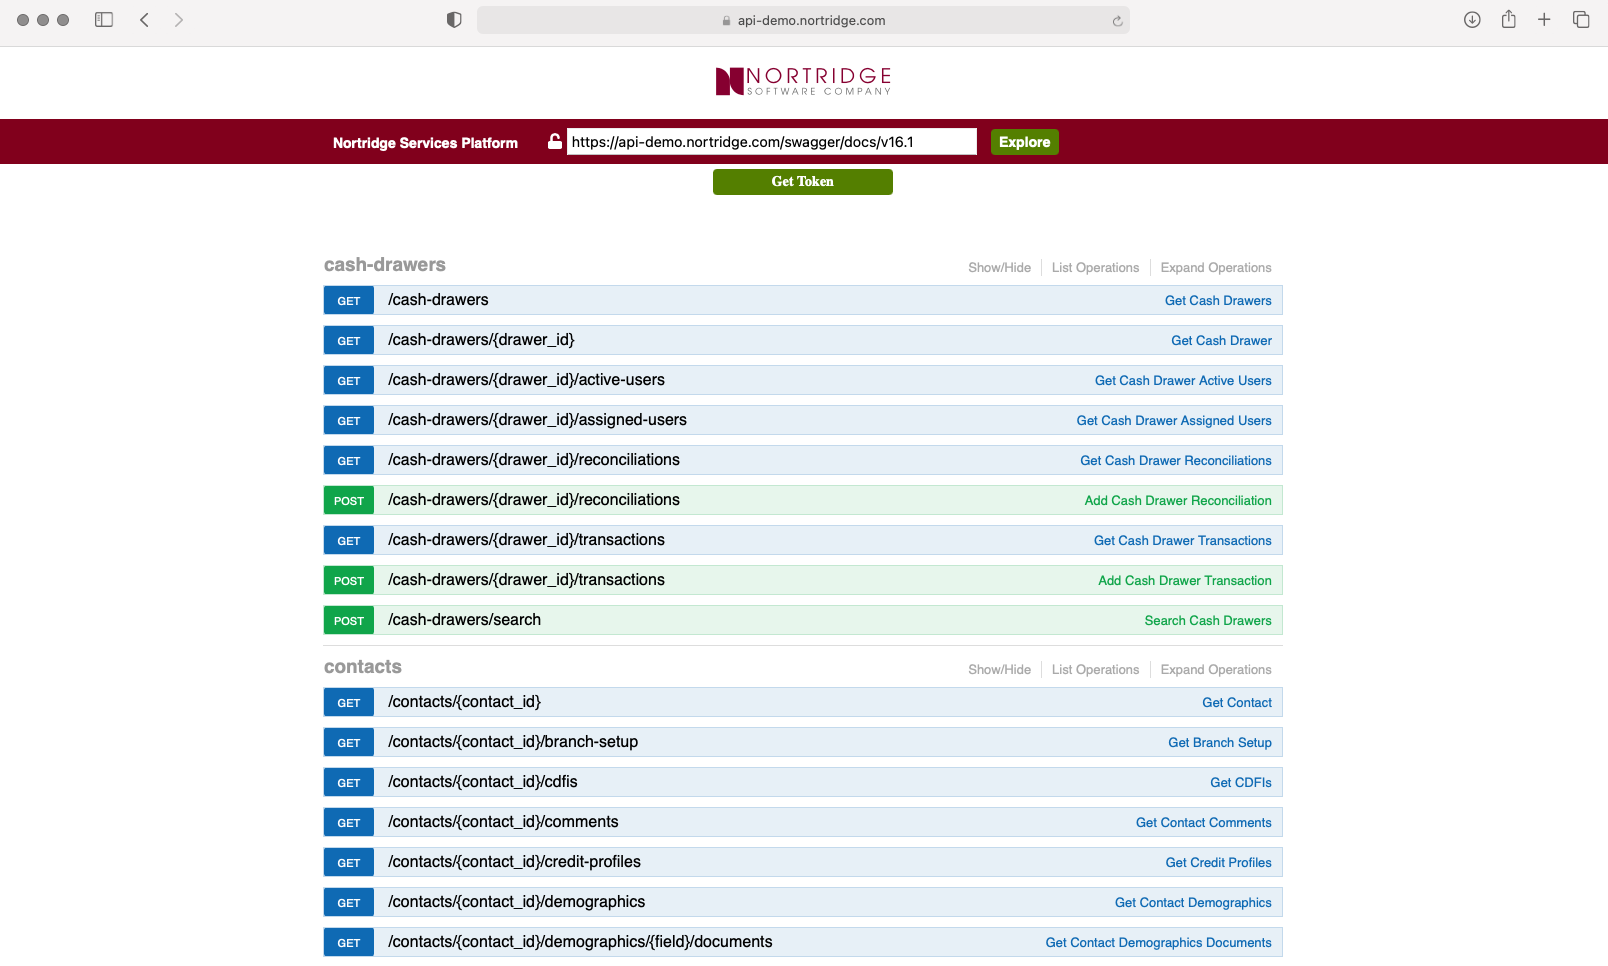
The URL for the API spec we are going to import is in the text field.
Step 3: Import the API spec into Postman
Open up Postman and import the API spec. For detailed instructions, follow the Postman documentation .
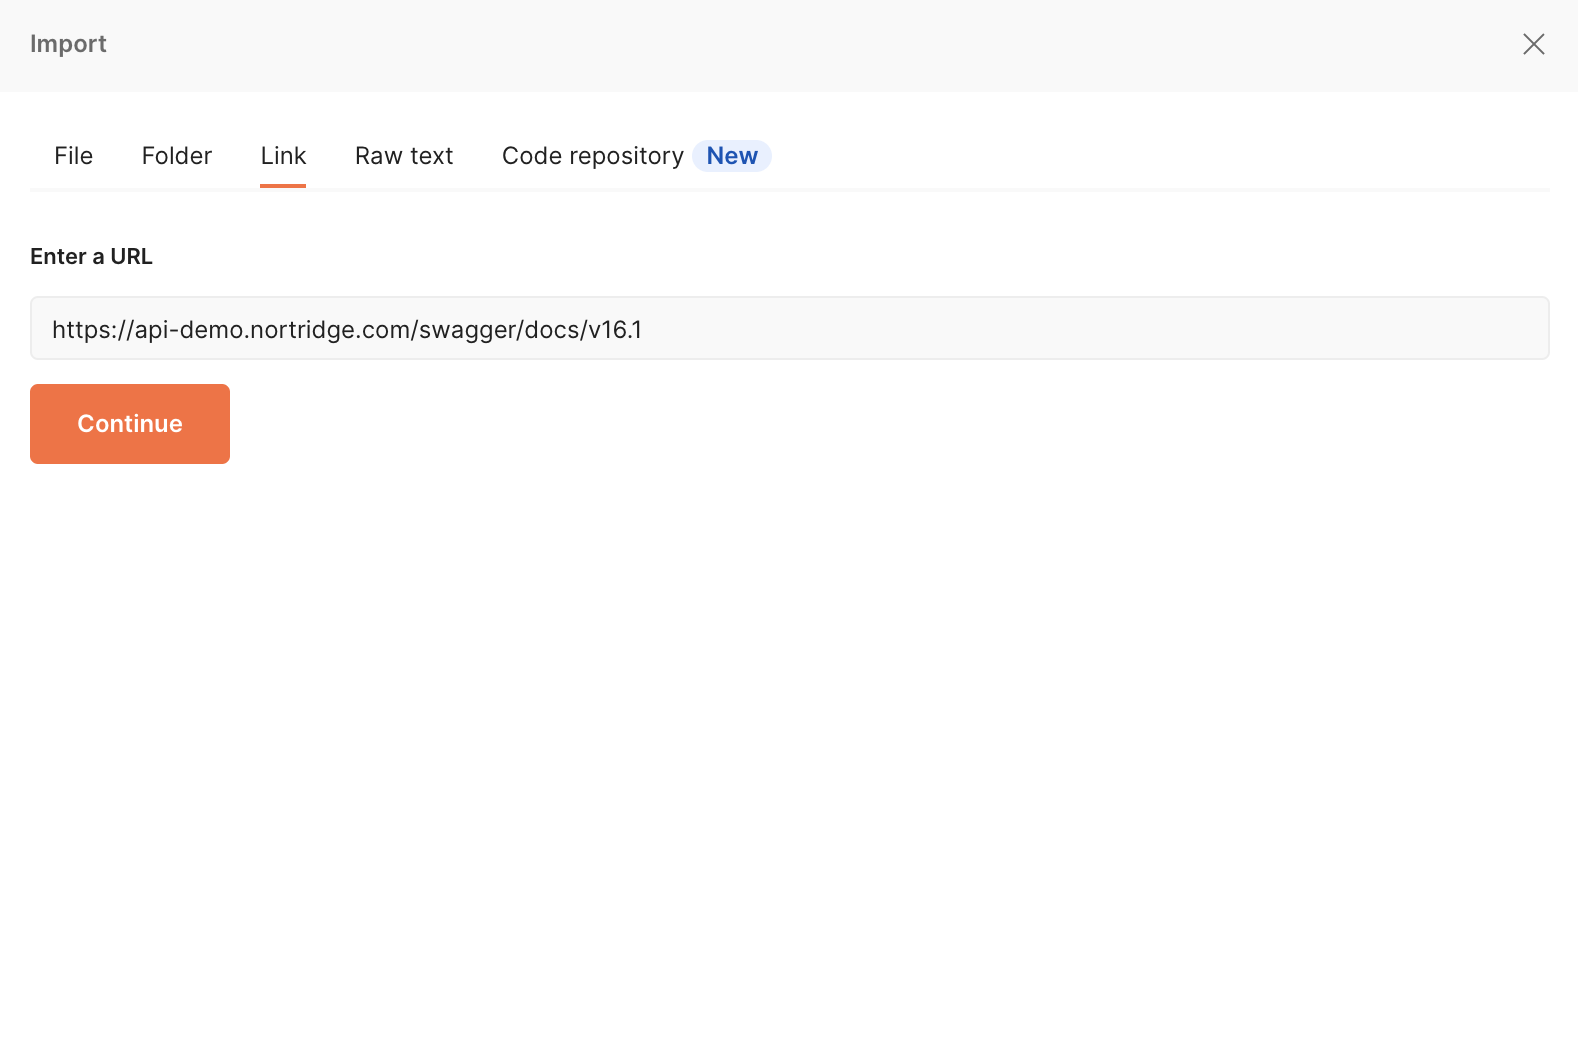
Postman Import screen
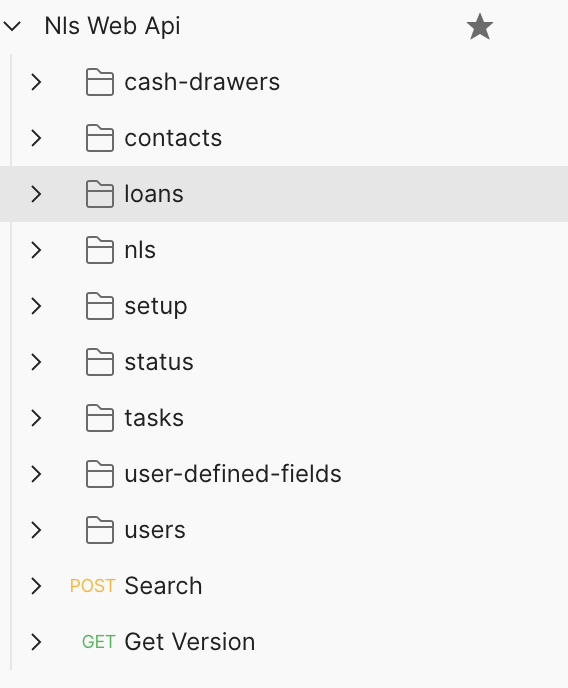
This will load up all the API endpoints with additional context for parameters, etc.!
Step 4: Authentication - Setup Auth 2.0 and get token
One of the benefits of using Postman (as opposed to Swagger) is how simple it is to get new tokens while testing endpoints and data.
Click on the root of the API structure, in our example, named Nls Web Api.
In the Authorization settings, select OAuth2.0 and Grant Type of Password Credentials.
Enter your Client ID, Client Secret, Username, and Password.
For Scope, enter "api".
and lastly, for Client Authentication select, "Send as Basic Auth Header".
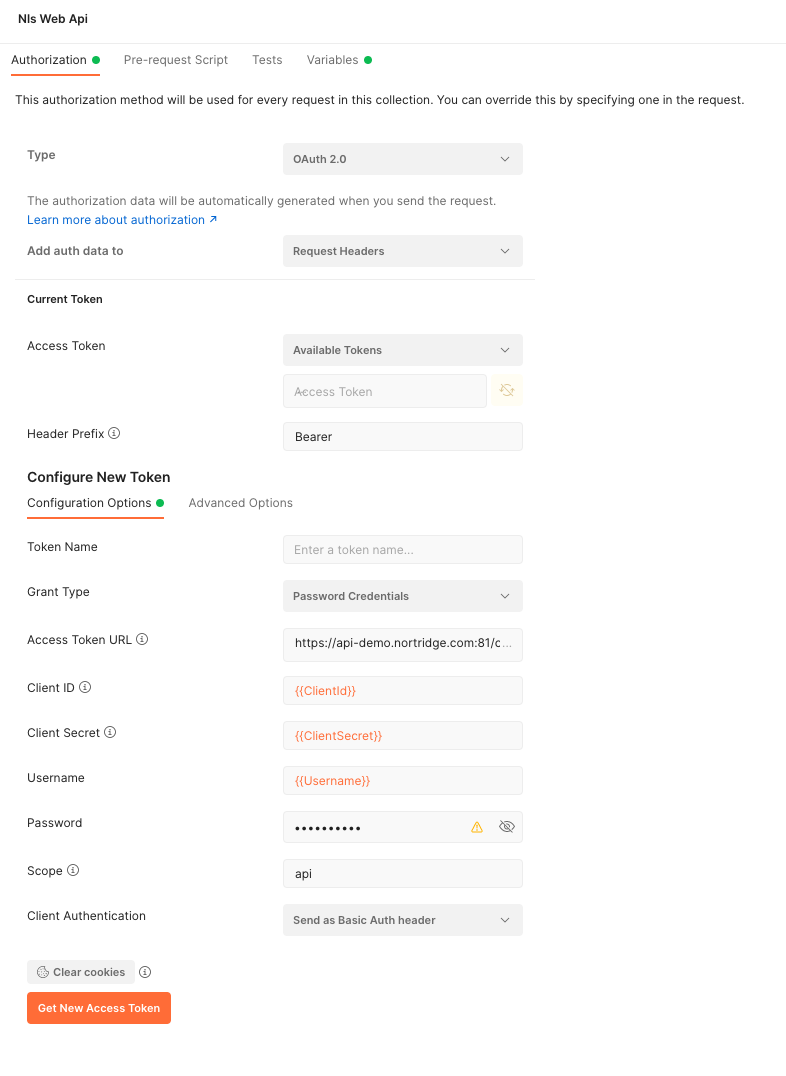
Configuration screen for root API, OAuth2 credentials.
Go ahead and click Get New Access Token, which will generate a token for us to use.
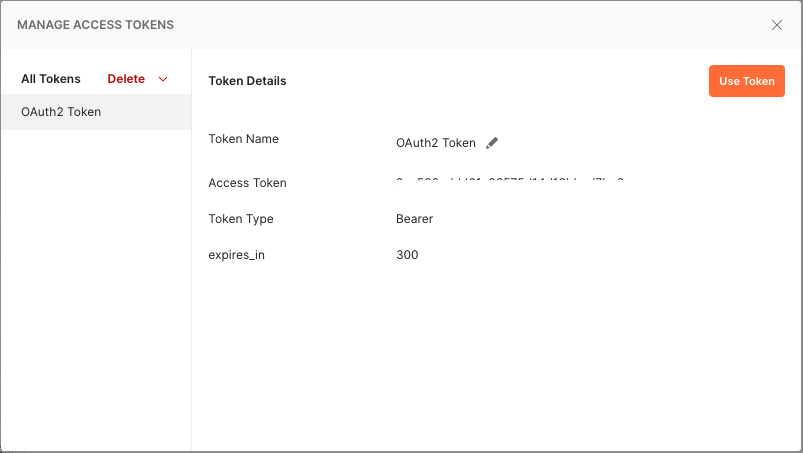
Access Token screen once the token is successfully generated.
Step 5: Test an endpoint
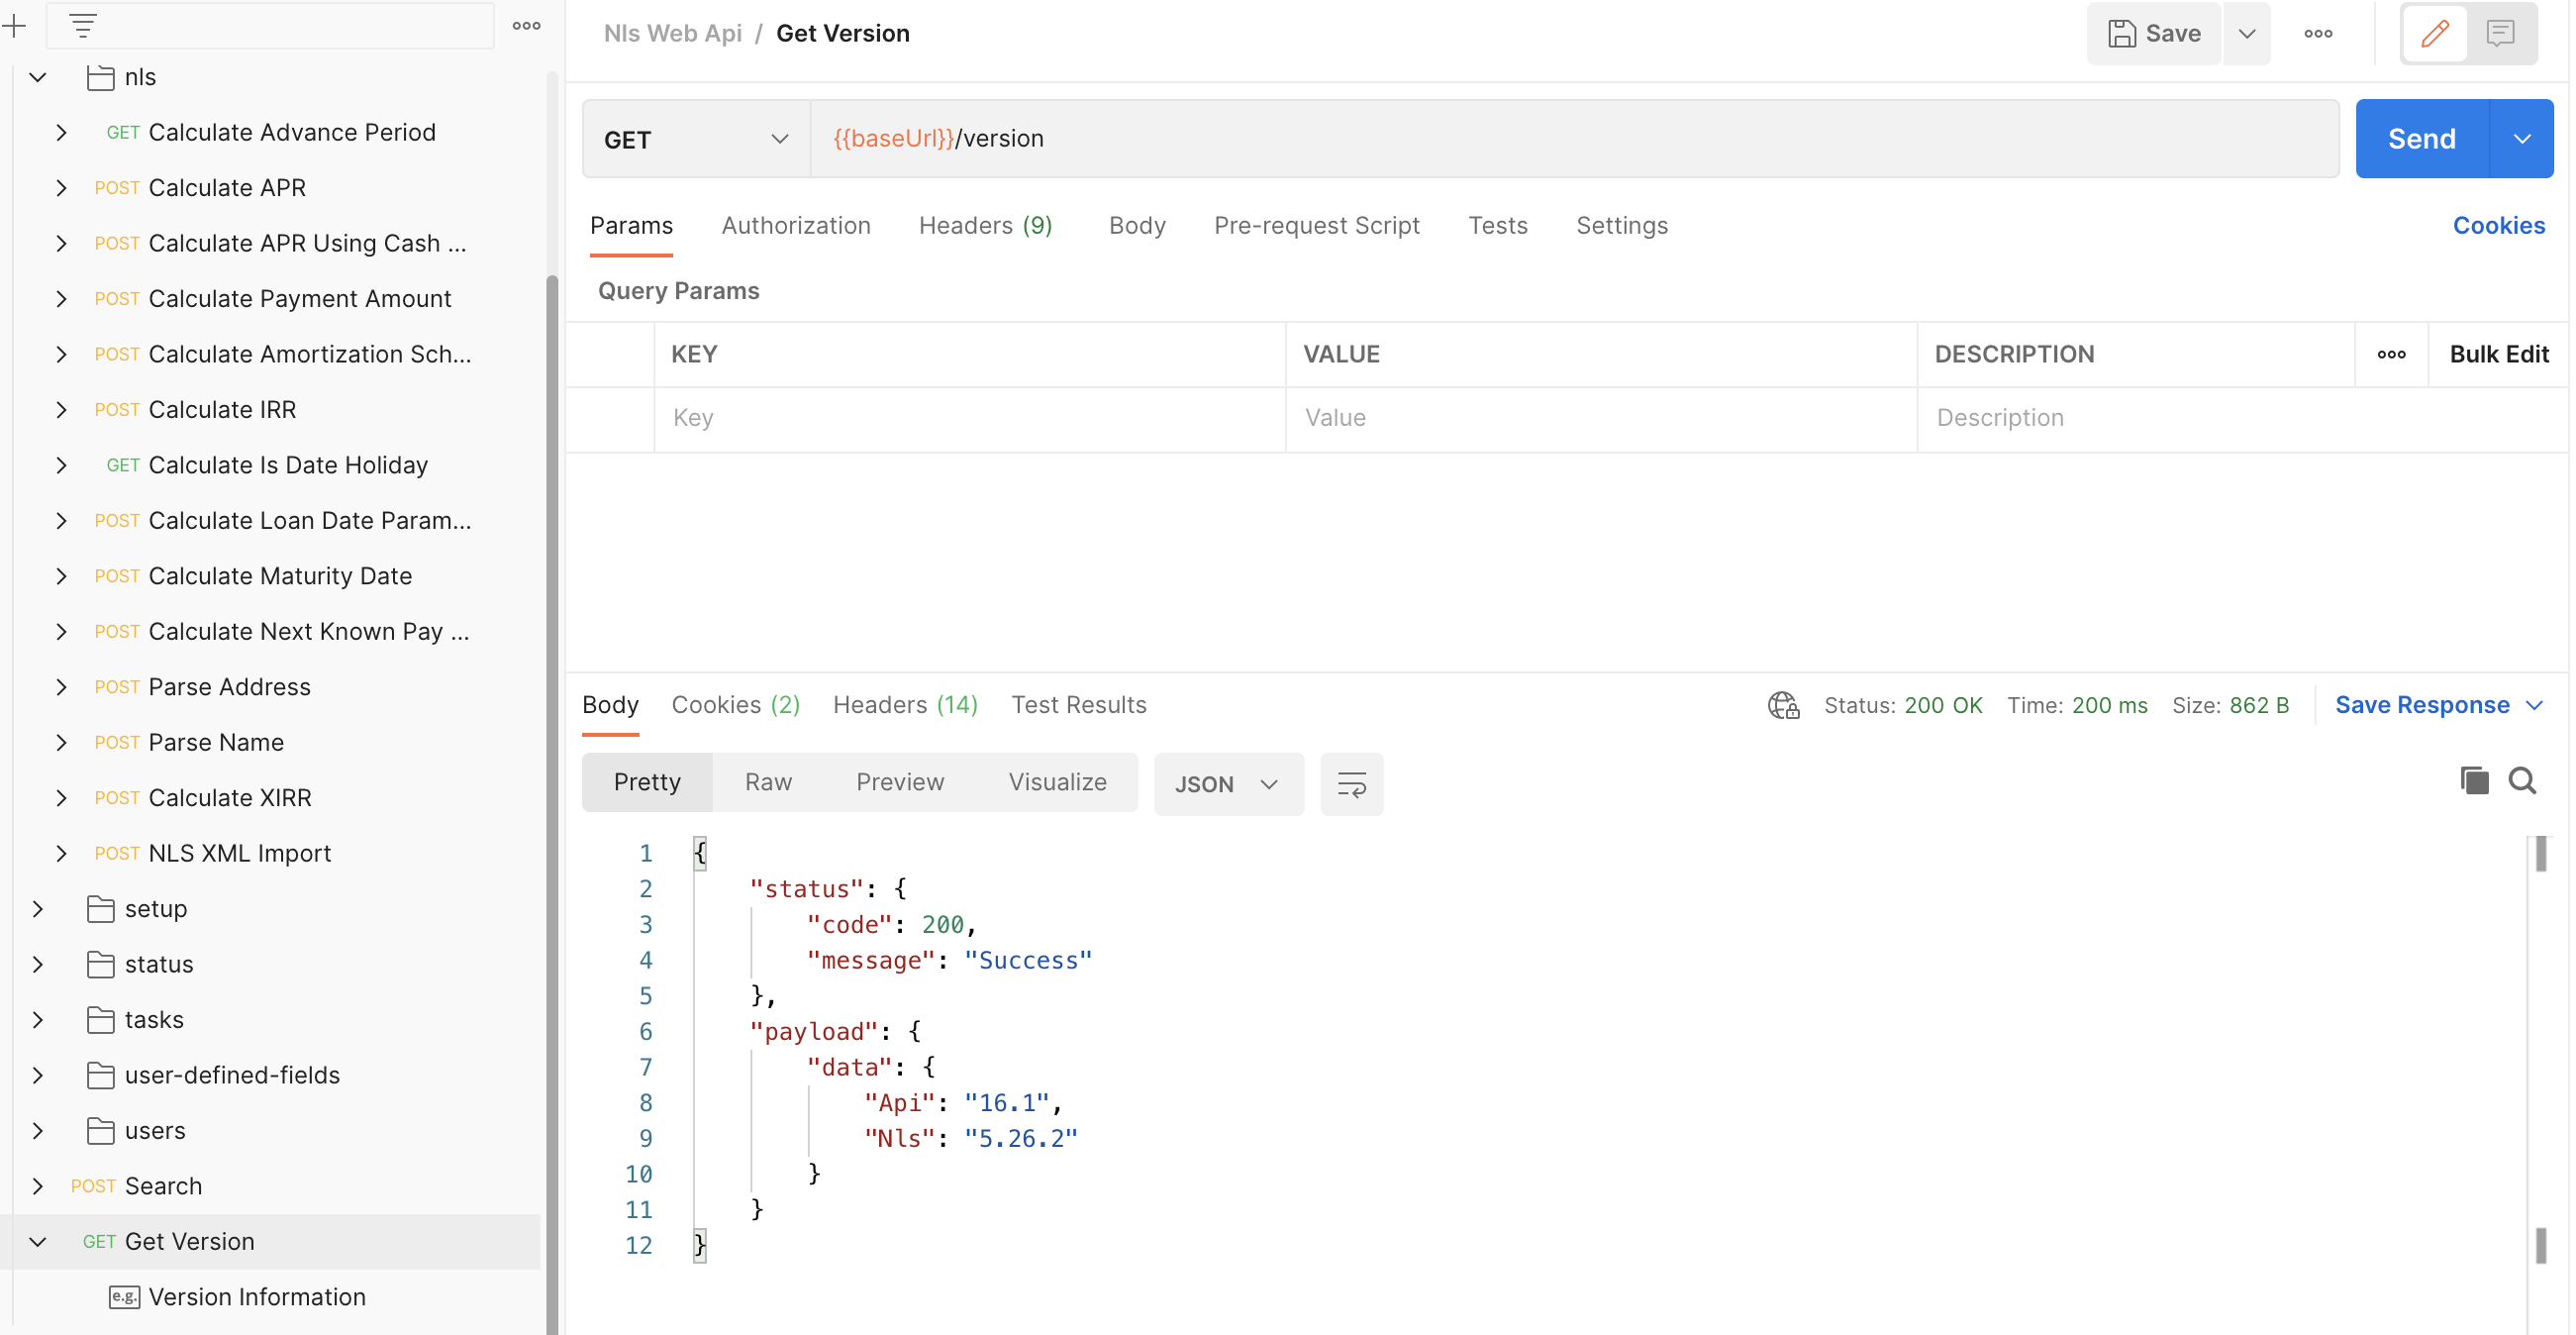
Our last step is to test an endpoint. Let's head over to the Get Version endpoint, which a simple GET request that returns a JSON message with the API and NLS versions respectively.
Updated about 1 year ago
